Fintech AI Development
Services
Leverage the power of Artificial Intelligence to streamline financial processes, improve decision-making, and drive innovation in the financial sector.
Why AI in Fintech?
Artificial Intelligence is revolutionizing the financial industry by providing intelligent solutions for complex challenges.
Personalized Banking & Financial Services
AI chatbots and virtual assistants provide 24/7 personalized financial guidance and support.
Fraud Prevention & Risk Management
Detect anomalies and prevent fraud in real time with advanced machine learning algorithms.
Credit Scoring & Loan Approvals
Advanced AI models for accurate credit risk assessments and faster loan processing.
Our Fintech AI Development Services
We deliver cutting-edge AI solutions tailored specifically for the financial technology sector.
AI-Powered Fraud Detection & Risk Management
Financial fraud is a growing concern, but AI can detect and prevent suspicious activities in real time. Our fraud detection solutions analyze vast datasets, identify anomalies, and flag high-risk transactions before they cause harm.
Using advanced machine learning, AI continuously improves its detection accuracy, reducing false positives while enhancing security and compliance.
Predictive Analytics & Risk Assessment
AI-driven predictive analytics helps financial institutions make data-backed decisions by analyzing market trends, customer behavior, and risk factors.
AI models assess credit risks, forecast market fluctuations, and optimize financial strategies, ensuring better risk management and investment decisions. With real-time insights, businesses can proactively mitigate financial risks and enhance operational efficiency.
AI Chatbots & Virtual Financial Assistants
Customer expectations in fintech are evolving, and AI-powered chatbots provide 24/7 intelligent support. AI virtual assistants handle inquiries, process transactions, and provide personalized financial recommendations.
By automating customer interactions, banks and financial services improve user experience, reduce response times, and enhance engagement without increasing operational costs.
Automated Loan & Credit Processing
Traditional loan approvals can be slow and inefficient. AI-driven loan and credit processing systems analyze borrower data, assess creditworthiness, and automate decision-making.
By reducing manual intervention and human bias, financial institutions can accelerate loan approvals, minimize risks, and improve access to credit for individuals and businesses.
AI-Driven Algorithmic Trading
AI-powered trading systems analyze massive amounts of financial data to identify profitable market opportunities.
Our algorithmic trading solutions use deep learning and quantitative models to execute trades at optimal times, reducing risks and maximizing returns. With real-time decision-making, traders and investment firms gain a competitive edge in fast-moving financial markets.
AI-Powered Compliance & Regulatory Solutions
Financial regulations are constantly evolving, making compliance a challenge for fintech companies. AI-driven compliance tools automate regulatory reporting, monitor transactions for suspicious activities, and ensure adherence to legal requirements.
By leveraging AI, financial institutions can reduce compliance costs, prevent violations, and maintain trust with regulators and customers.
Your Trusted AI Partner in Fintech Innovation
Why Choose Us?
True Partnership, Deep Understanding
We invest time upfront to genuinely understand your business objectives, workflows, and success metrics. We ask 'why' before 'how'.
We act as an extension of your team, offering proactive guidance and strategic insights, not just executing tasks.
Crystal Clear Communication
No black boxes. You get regular, proactive updates in plain language, full visibility into progress, and direct access to the team.
We foster open dialogue and are honest about capabilities and potential challenges from day one.
Predictable Delivery & Budget Certainty
We provide clear scopes, realistic timelines, and predictable pricing structures, ensuring budget certainty from start to finish.
Our disciplined project management ensures we hit milestones reliably, minimizing surprises and drama.
Quality Engineering for the Long Haul
We build robust, scalable, and maintainable software using proven technologies and best practices.
Our focus is on future-proof architecture that supports your growth, not just trendy tech that creates lock-in.
Reliability & Accountability
We assemble dedicated, experienced teams committed to your project's success. You own the code from day one.
We stand by our work, ensuring you get a solution that performs as expected and evolves with your needs.
Case Studies
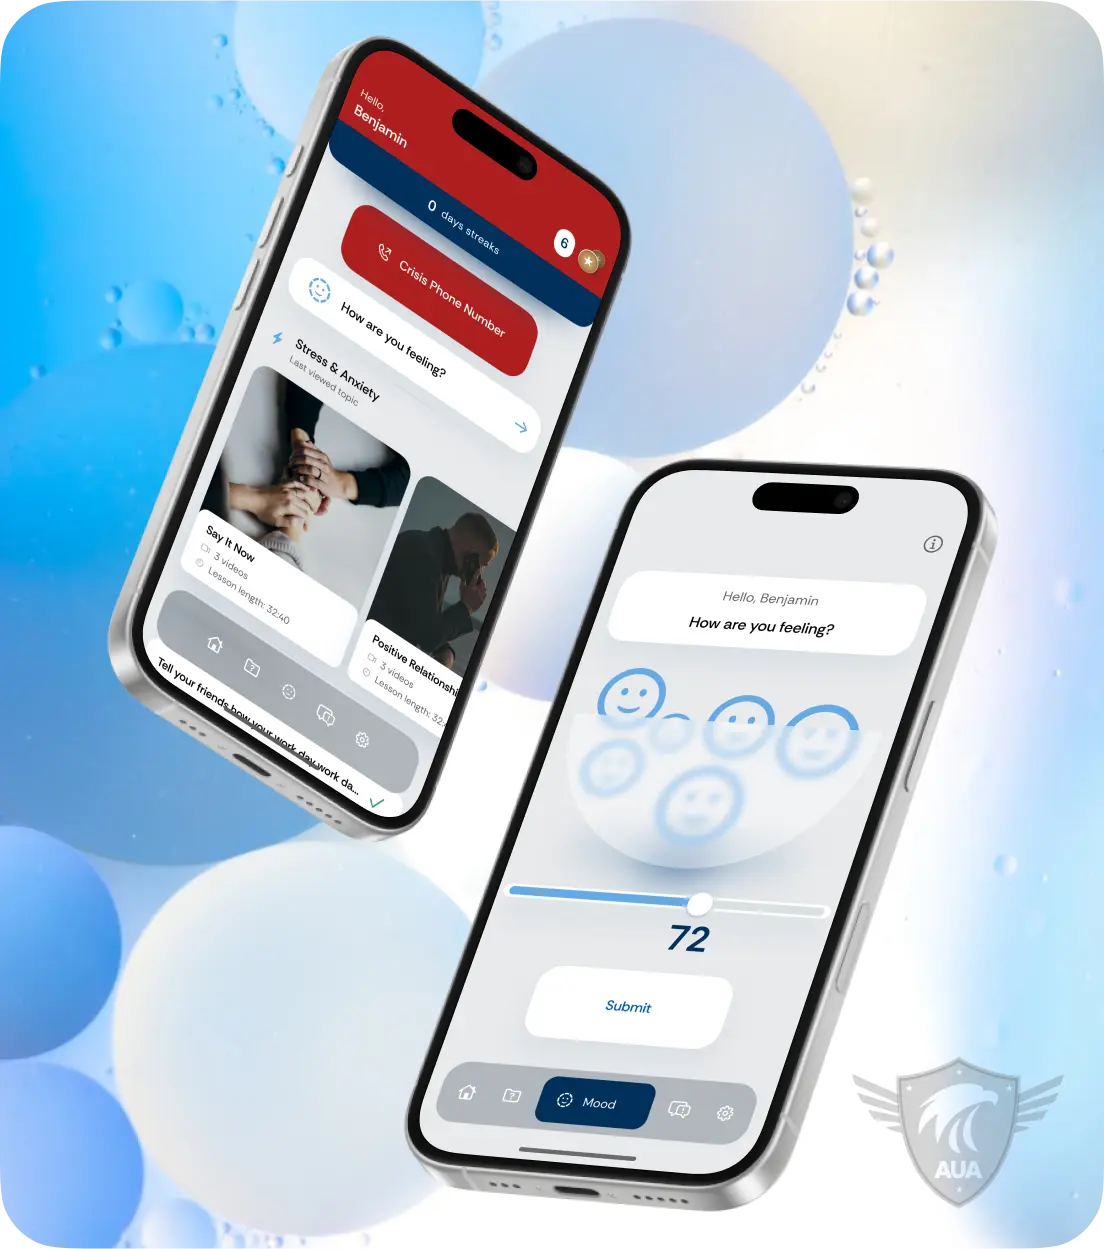
Armor Up America
Confidential mental wellness platform for U.S. first responders with peer support.

RAE Health
Healthcare platform with biomarker tracking and just-in-time support for patients.
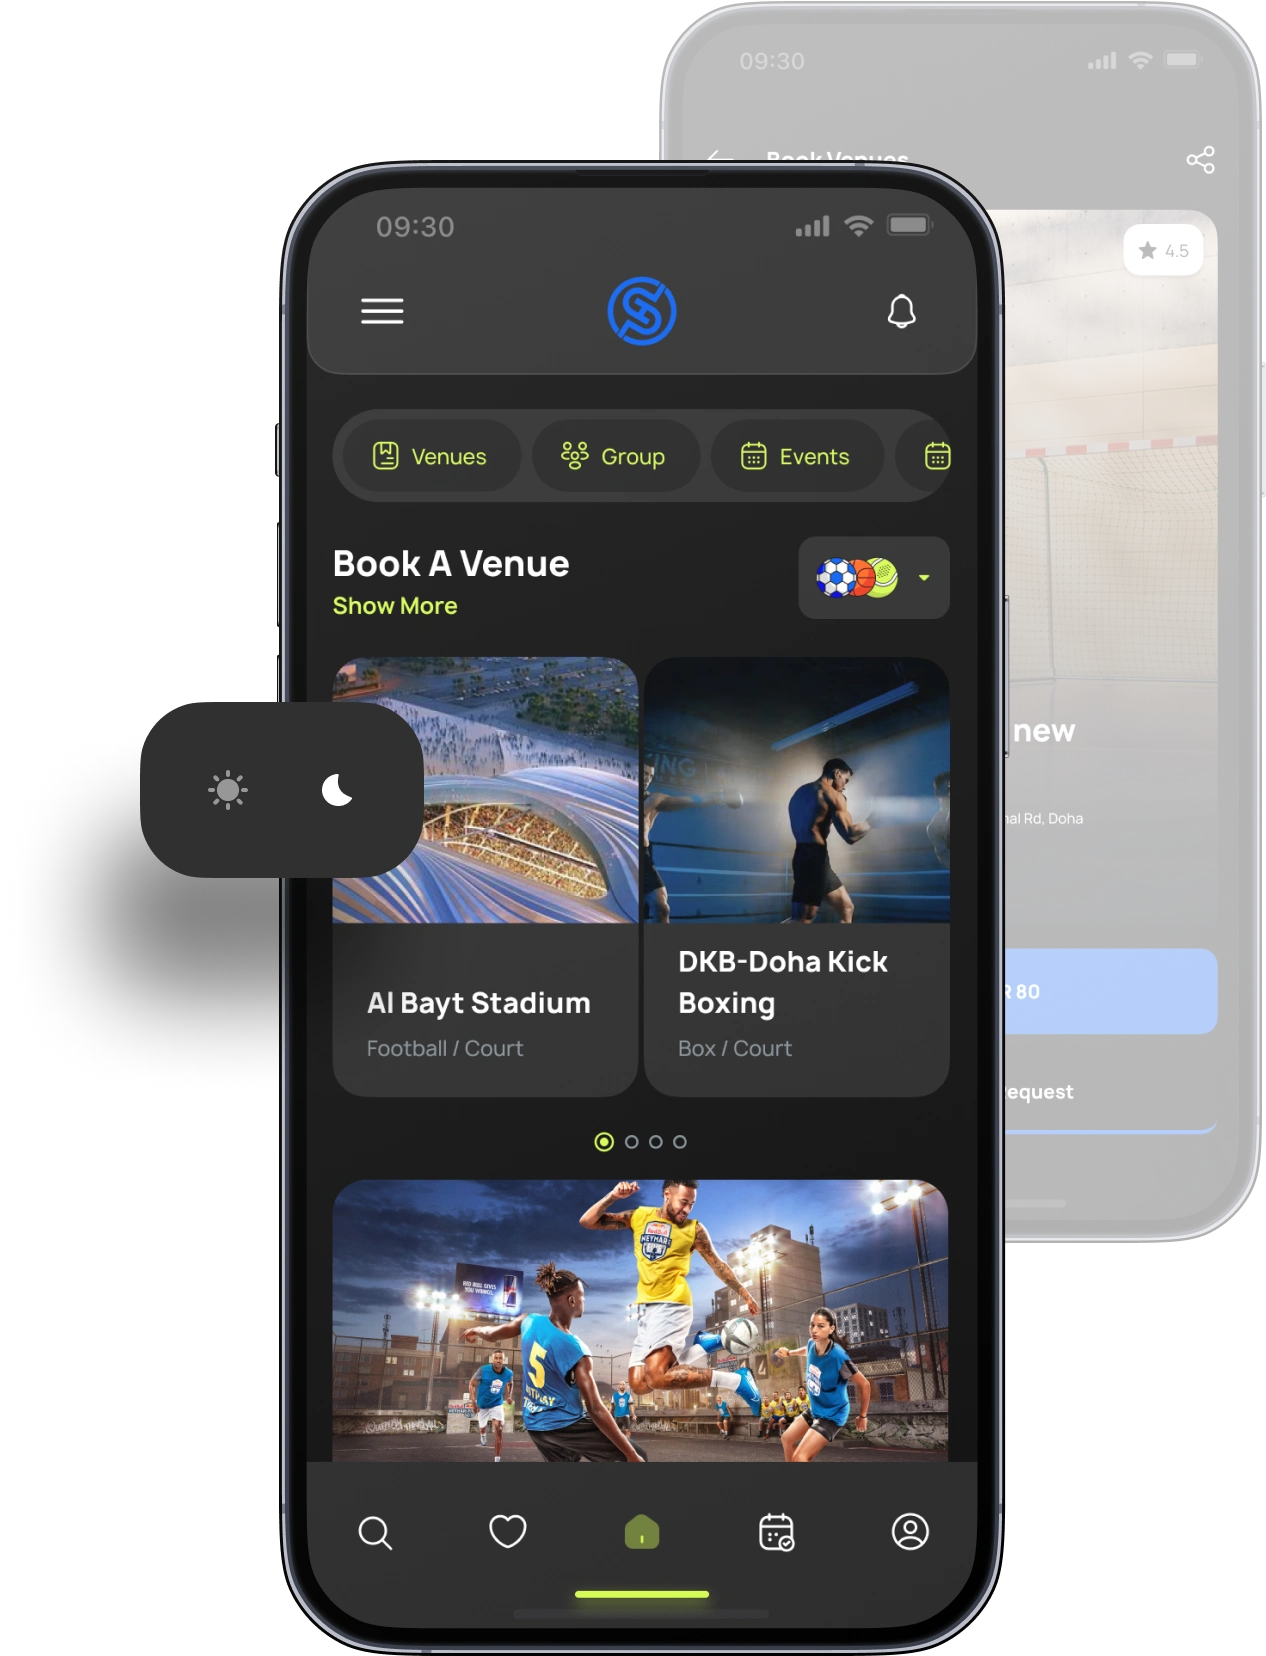
SportHub
Sports and lifestyle booking platform for venues, events, and memberships in Qatar.
CLIENT REVIEWS
Trusted in Financial Technology
“Attract Group's efforts resulted in a bug-free app that beta users could easily navigate. The team provided frequent updates on their progress and was highly accommodating throughout the engagement. Attract Group was organized and responsive.”

“Attract Group provides outstaffing services for a fintech company. They take the time to better understand our requirements and provide the best options. Attract Group delivers on time, and their communication is quick.”

“Attract Group has deployed top-notch professionals who manage the project efficiently and ensure timely delivery of outputs. They also impress us with their transparency in their technical skills and business consulting values.”

01–03 / 06 CURATED · 39 TOTAL ON CLUTCH
FAQs
Common questions about our fintech AI development services.
Ready to Transform Your Financial Services with AI?
Let's discuss how our AI-powered fintech solutions can revolutionize your business operations, enhance security, and drive growth. Our experts are ready to help you leverage cutting-edge technology for competitive advantage.